
Latest from the Blog
August 8, 2020
Let’s get ready for the holidays, with some inexpensive gifts!!
This is my first blog post and I am beginning my with three easy DIY gifts that you can create on a budget in time for the holidays. I will present them in a 3 part series.
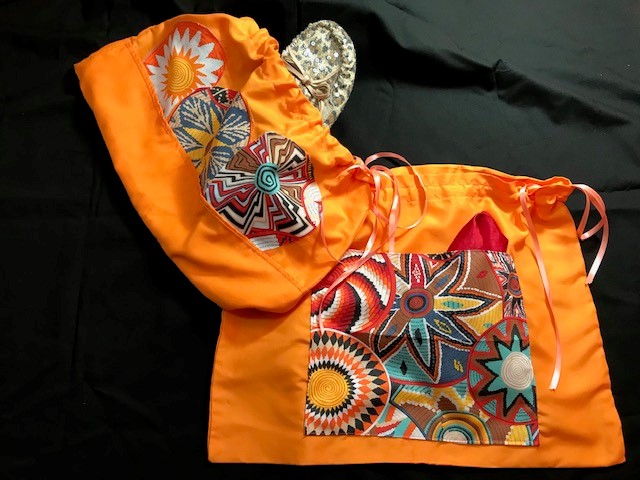
The first is a lingerie or fine garment bag that can be used for travel or storing fine garments in a drawer. See the picture below.
The supplies needed:
- Pillow cases, use the thrift store, or Dollar Tree (has satin pillow cases). You may get lucky and find king size pillow cases which provide larger bags
- Scissors/Shears for cutting fabric.
- Fabric glue that is permanent and will not wash out (No Sew Thread)
- A sewing machine, matching thread.
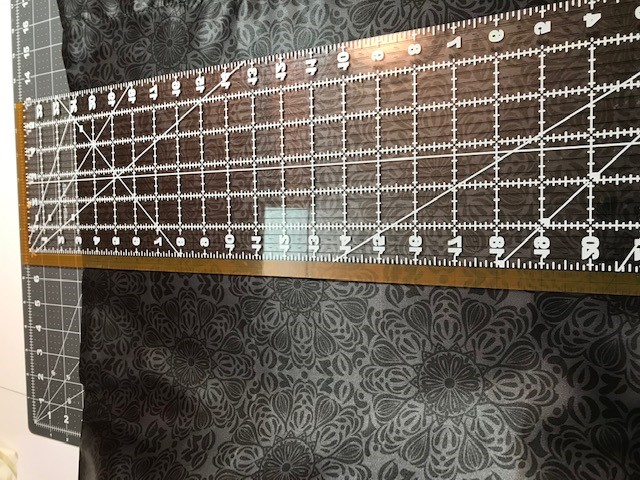
- Tape measure or at least an 18 inch ruler.
- Nice to have – a rotary cutter or you can use scissors.
- Pins
- Dye if you only locate white pillow cases but want them another color.
- Optional -storage container from Dollar Tree. I found one made of fabric, with handle to use as insert into bag. You will see it in pic below.
- Ribbon to match the bag.
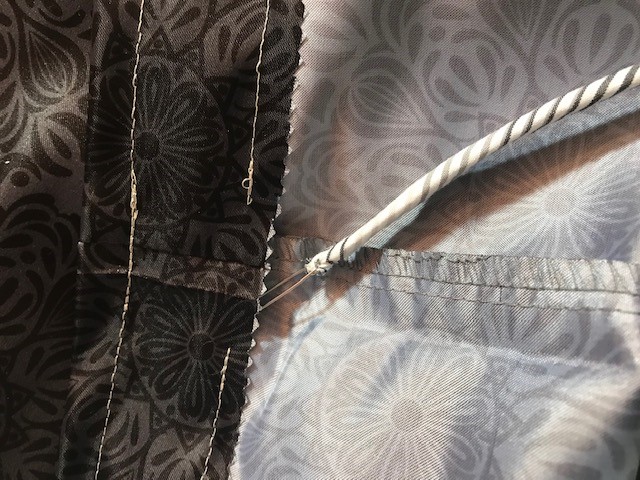
- A safety pin for inserting the ribbon.
- Seam ripper
Instructions:
- If you purchased your pillow case from a second hand store, make sure you wash first.
- Iron all creases out of the pillow case.
- Decide what size you want to make your bags, shoe bag size or if you have an insert storage container to insert into the bag, make sure the bag is cut to the appropriate size. Allow for the hem, about 2 inches.
- Use scissors or rotary to cut the pillow case.

- Once cut, turn bag inside out and for the half where the bottom is already sewn together, fold down edge about 1/4 to 1/2 inch and press, then turn down about 1 1/2 to 2 inches and press again. stitch close to the 1/4 inch folded edge.
- Leave an opening for inserting the ribbon into the hem. Mark the opening with pins so that you know where to start and stop.
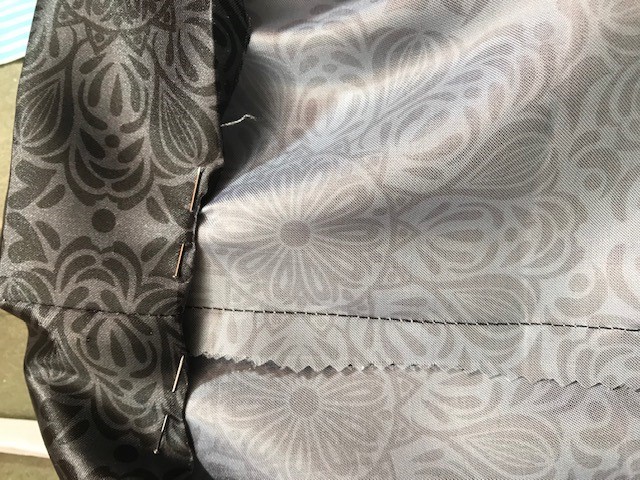
- On the other half of the bag, you can sew one edge at 5/8 inch seam allowance and that is the bottom of the bag, again turn down the other edge, 1 1/2 to 2 inches and sew, leaving space for ribbon insert. Optional – you can open the short end of the smaller bag with a seam ripper and sew up the long sides, turning down the short side and inserting the ribbon on the short end. This is a great option for a shoe bag. Remember to leave an opening.
- From the top edge of the hemmed end, go down 1 inch or more depending on the size of your ribbon. Sew around the edge again. This will leave an area to fluff up once you insert your ribbon.
- Press your seams and lay your bag flat for designs. For this bag, I took an old men’s shirt, removed the pockets and glued them to the bag as pockets.
- Decide what design you want to sew or glue onto the bag. I cut out letters, by printing bold letters at a very large font using Word.
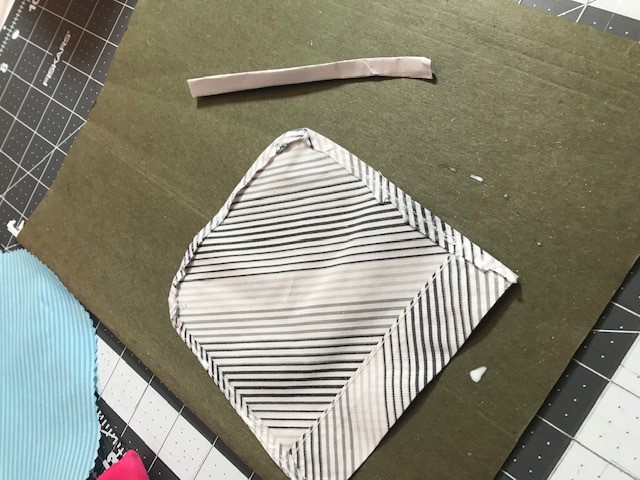
- If using fabric glue, please read the instructions and have a damp cloth near by so that you can wipe it up if you accidentally drop some on the bag. Also, when gluing the pockets, put a piece of paper or cardboard inside of the bag so that it does not stick together. Check the bag as it is drying to make sure it is not sticking to the paper. You may want to turn it inside out to dry the glue or use a blow dryer.
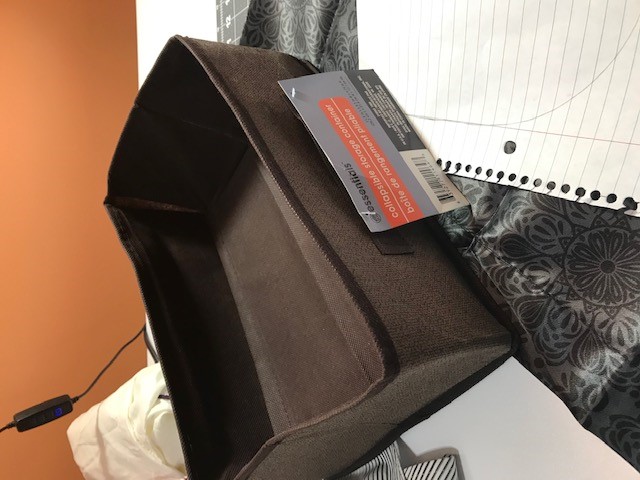
- Above is the storage bin that I purchased at Dollar Tree. Perfect size for this garment travel bag
- Once all decorations dry, insert ribbon or cord into top hem of bag. Attach safety pin to end of ribbon, close and push it through the hem. Adjust ruffles, after pulling it through.
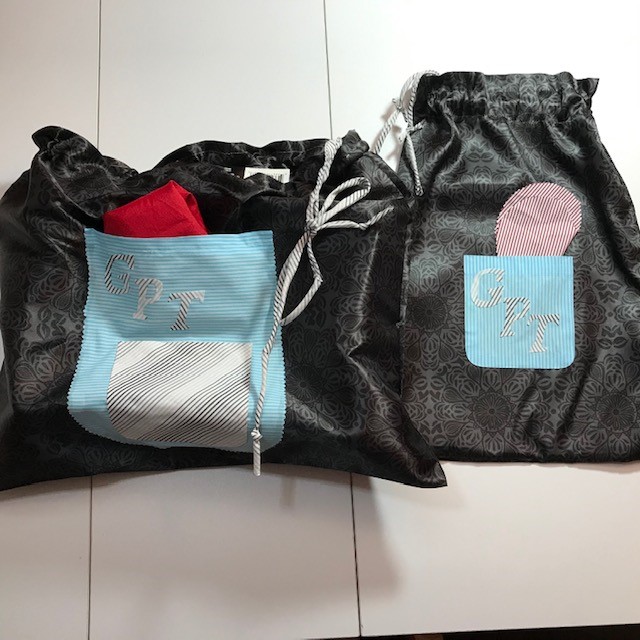
See photo above of finished bags. These are for my husband. I am sure that whoever you make this for will find good use for it.
Don’t forget to sign up for emails and notifications of new post. We will be posting more DIY holiday gift ideas.
Get new content delivered directly to your inbox.
